The Truth about Full-Time Jobs (when you have a side hustle)
| Growth
Being a Gmail ninja is not for everyone but hey, that's what I'm here for right 😉? In this post you'll learn how to send customized emails to multiple people using only Gmail and Google Sheets. For FREE!
If you run into issues, check out the FAQ section at the end!
Go to Developer’s webpage, scroll down to the create “Try it” section and click on the link to make a copy of the sample spreadsheet.
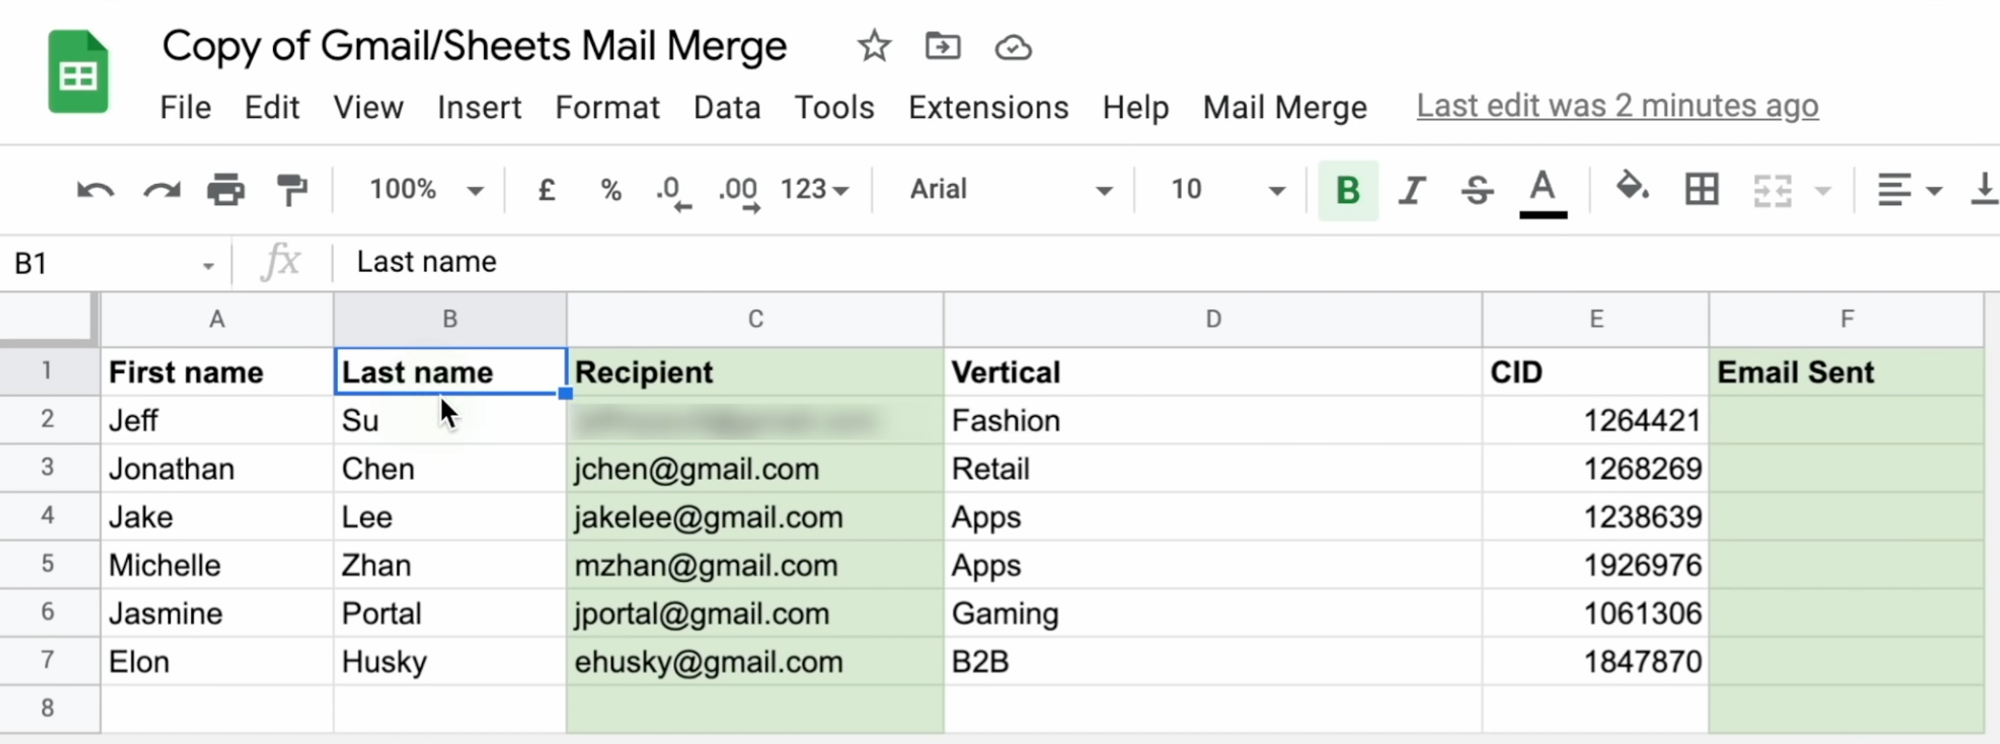
With the spreadsheet open you can change any of the columns except the “Recipient” and the “Email sent” section.
Recipient column is where you will write your destination emails and the Email Sent column will show the time when the email ends up being sent
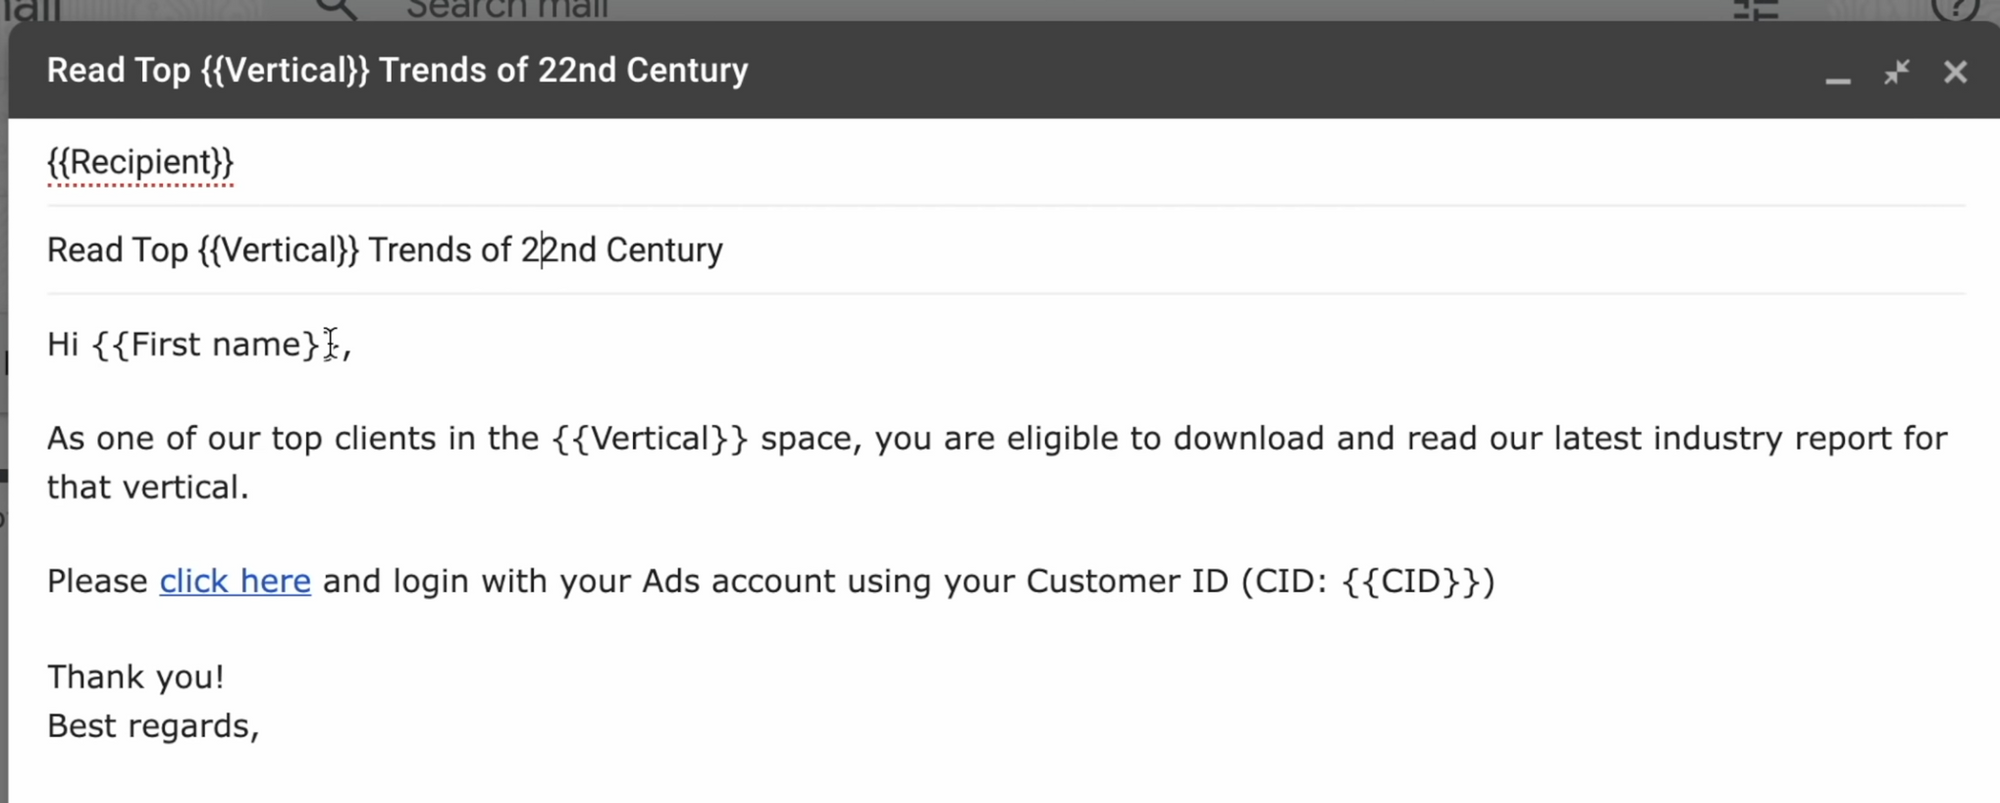
Go to your Gmail account and compose a new draft. In the “To” field you need to write “{{”, then go back to the spreadsheet and copy the Recipient header cell and close with “}}”.
You can apply any specific information you have in the spreadsheet.
Same here, you can write anything applying the information from the spreadsheet.
Go to your spreadsheet, click on Mail Merge and send emails. Press continue and choose your account.
Note: Although Google says it isn’t a verified app, we got the script from the official Google website. In this window just click on “advanced” scroll down and click on “Go to Gmail/Sheets Mail Merge” option. Click allow and it’s done.
Final step, click on Mail Merge “Send email” and copy your subject from your draft and paste Mail Merge pop-up then press “ok”.
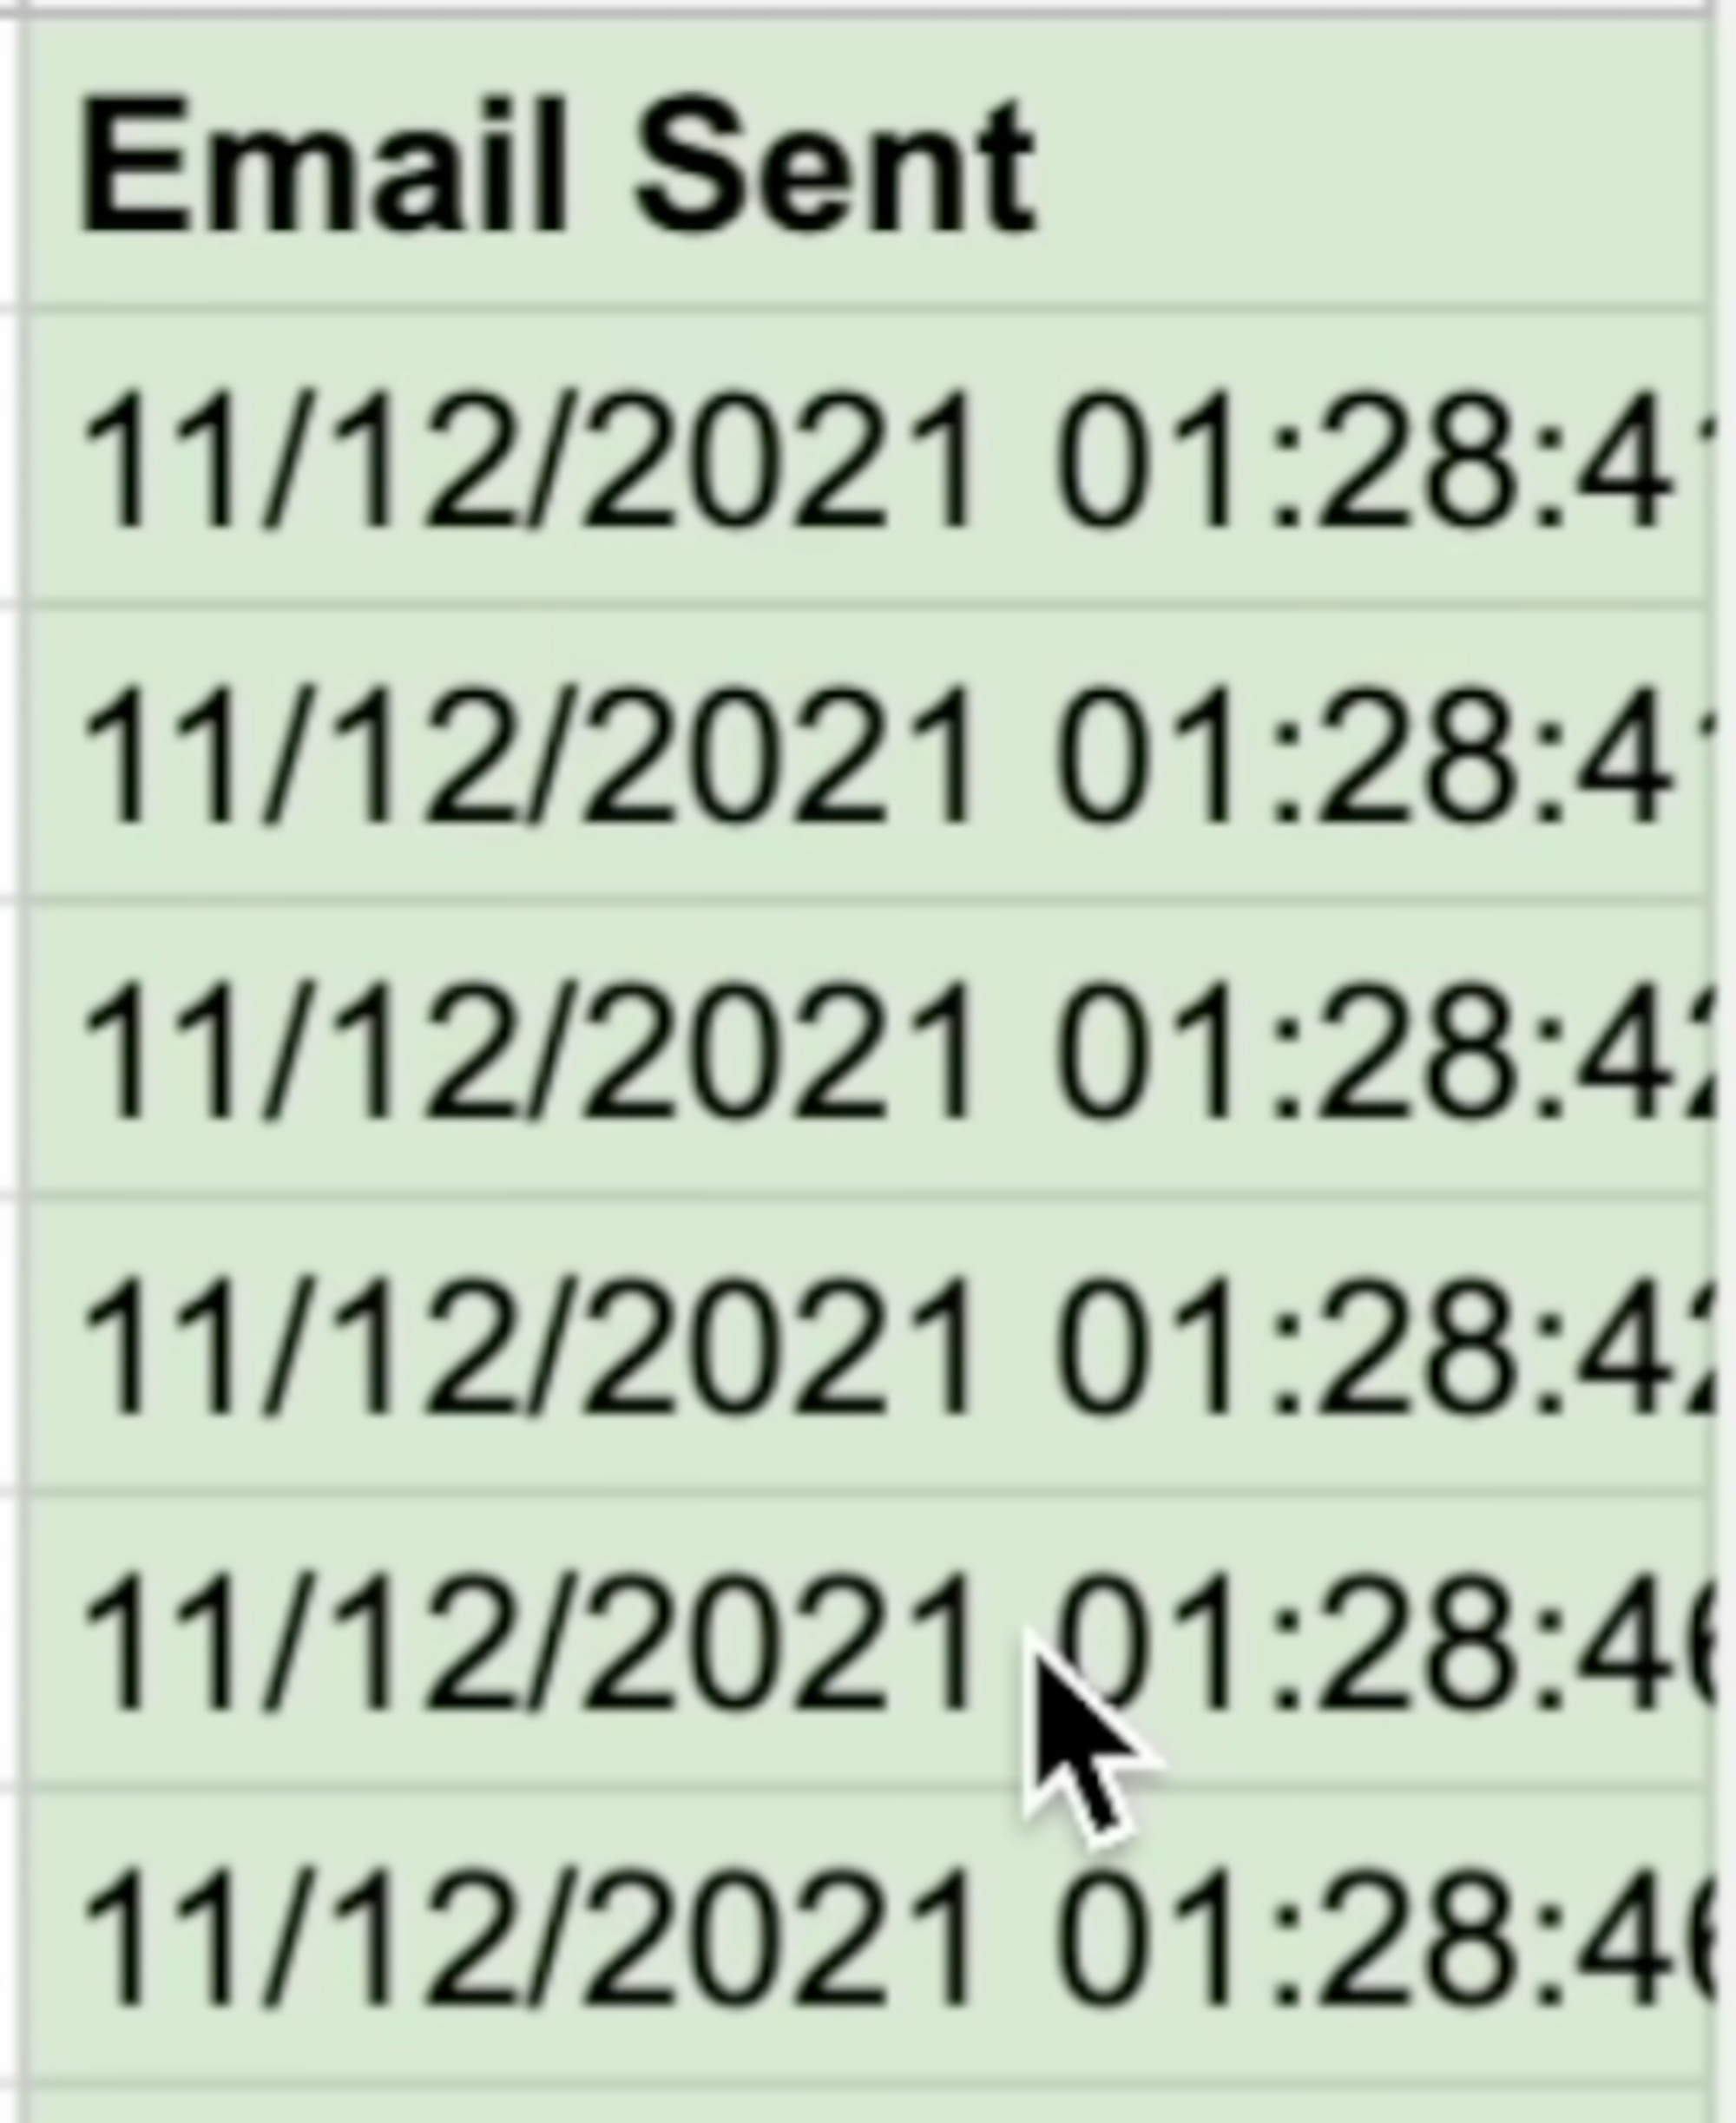
Wait a few seconds and your “Email sent” section from your spreadsheet will appear with some data (Date and hours).
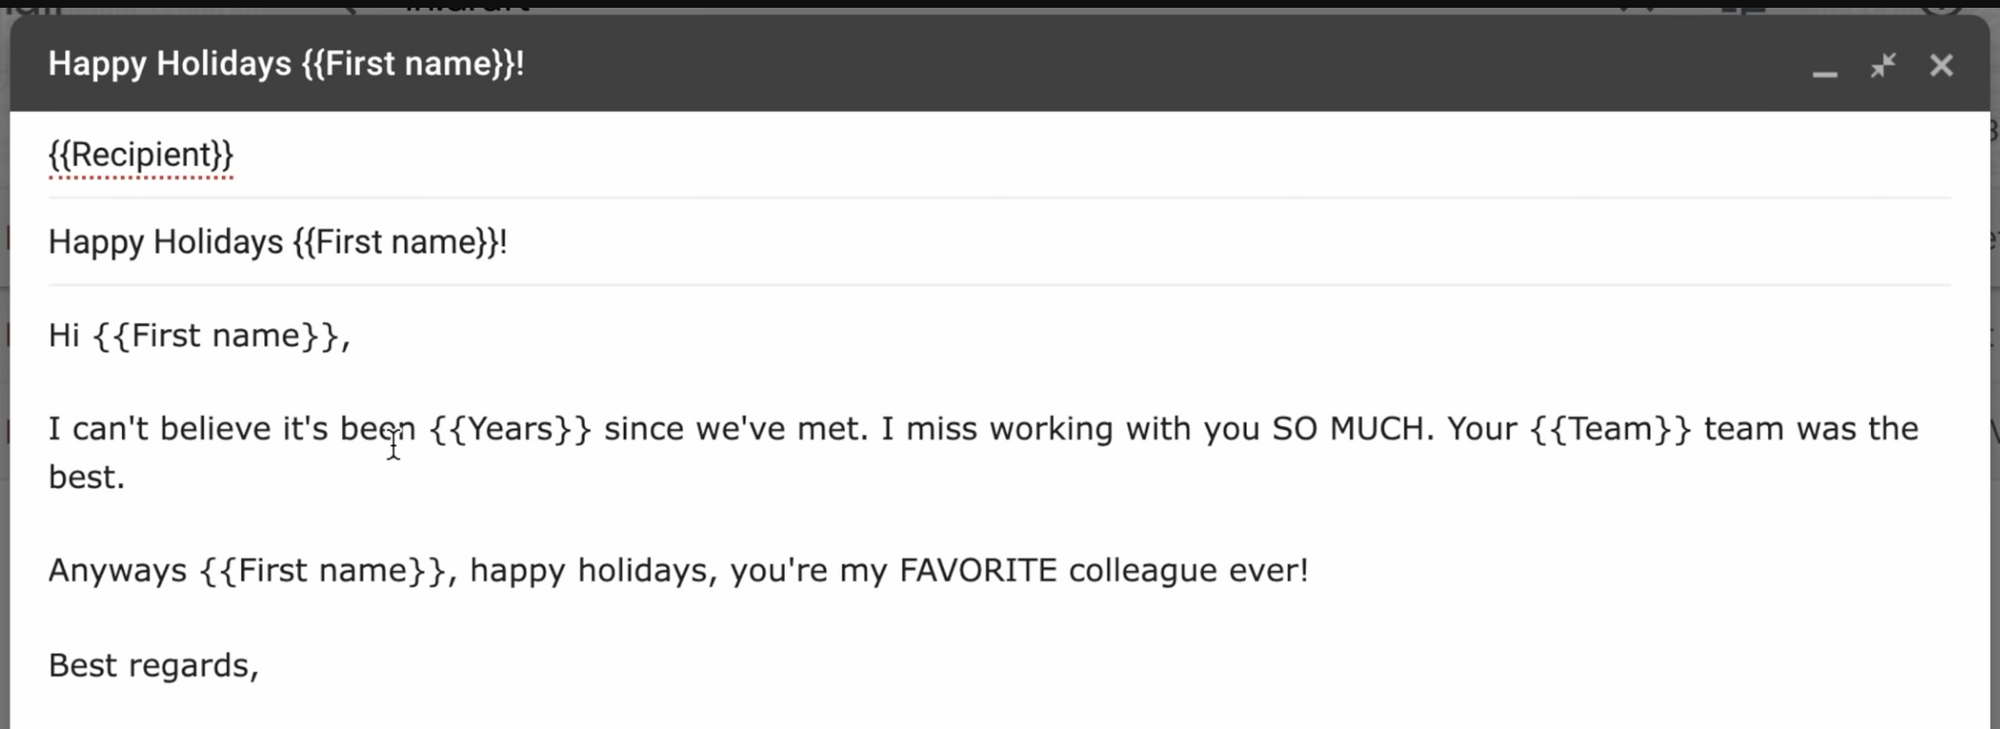
We can send personalized emails in bulk for many occasions. For example this personalized holiday greeting email:
If you don't have a clean Gmail inbox you might want to check out my Inbox Zero Tutorial!