The Truth about Full-Time Jobs (when you have a side hustle)
| Growth
Most of us have experienced the daunting task of writing a project recap email, where we feel the pressure to be formal and include every piece of information possible.
However, in my years of experience, I've discovered that being overly formal and lengthy doesn't necessarily yield the desired results.
In this blog post, I'll share with you a template for writing project recaps that I've found to be highly effective.
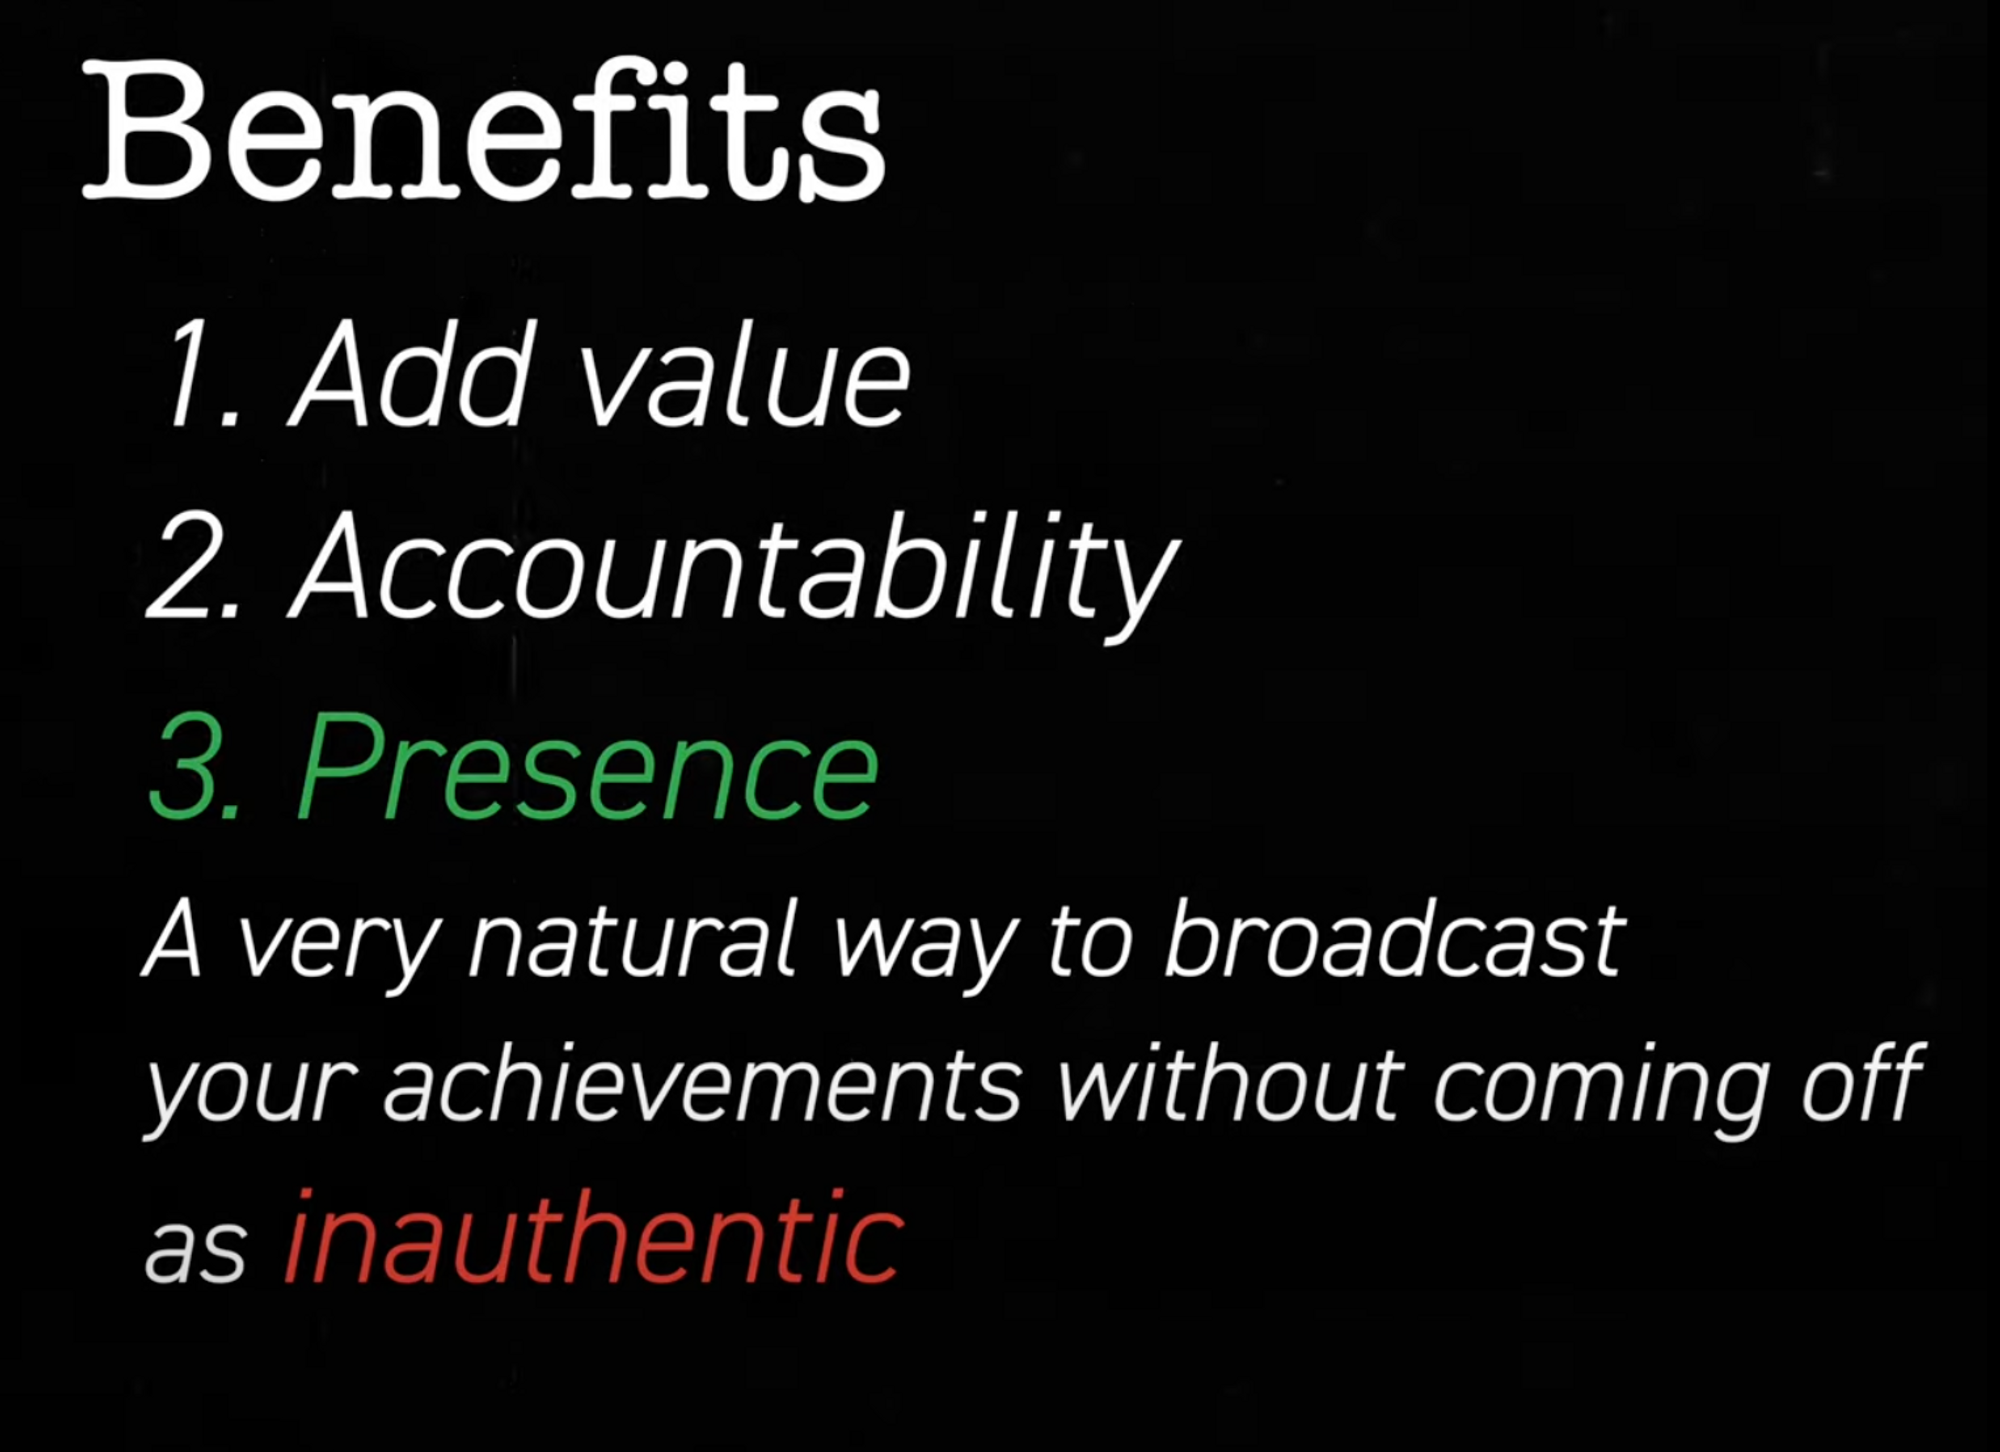
Now that we understand the benefits, let's delve into some practical tips that you can immediately apply to your project recap emails.
Instead of composing your recap directly in an email, write it on a shared word document. This format offers several advantages.
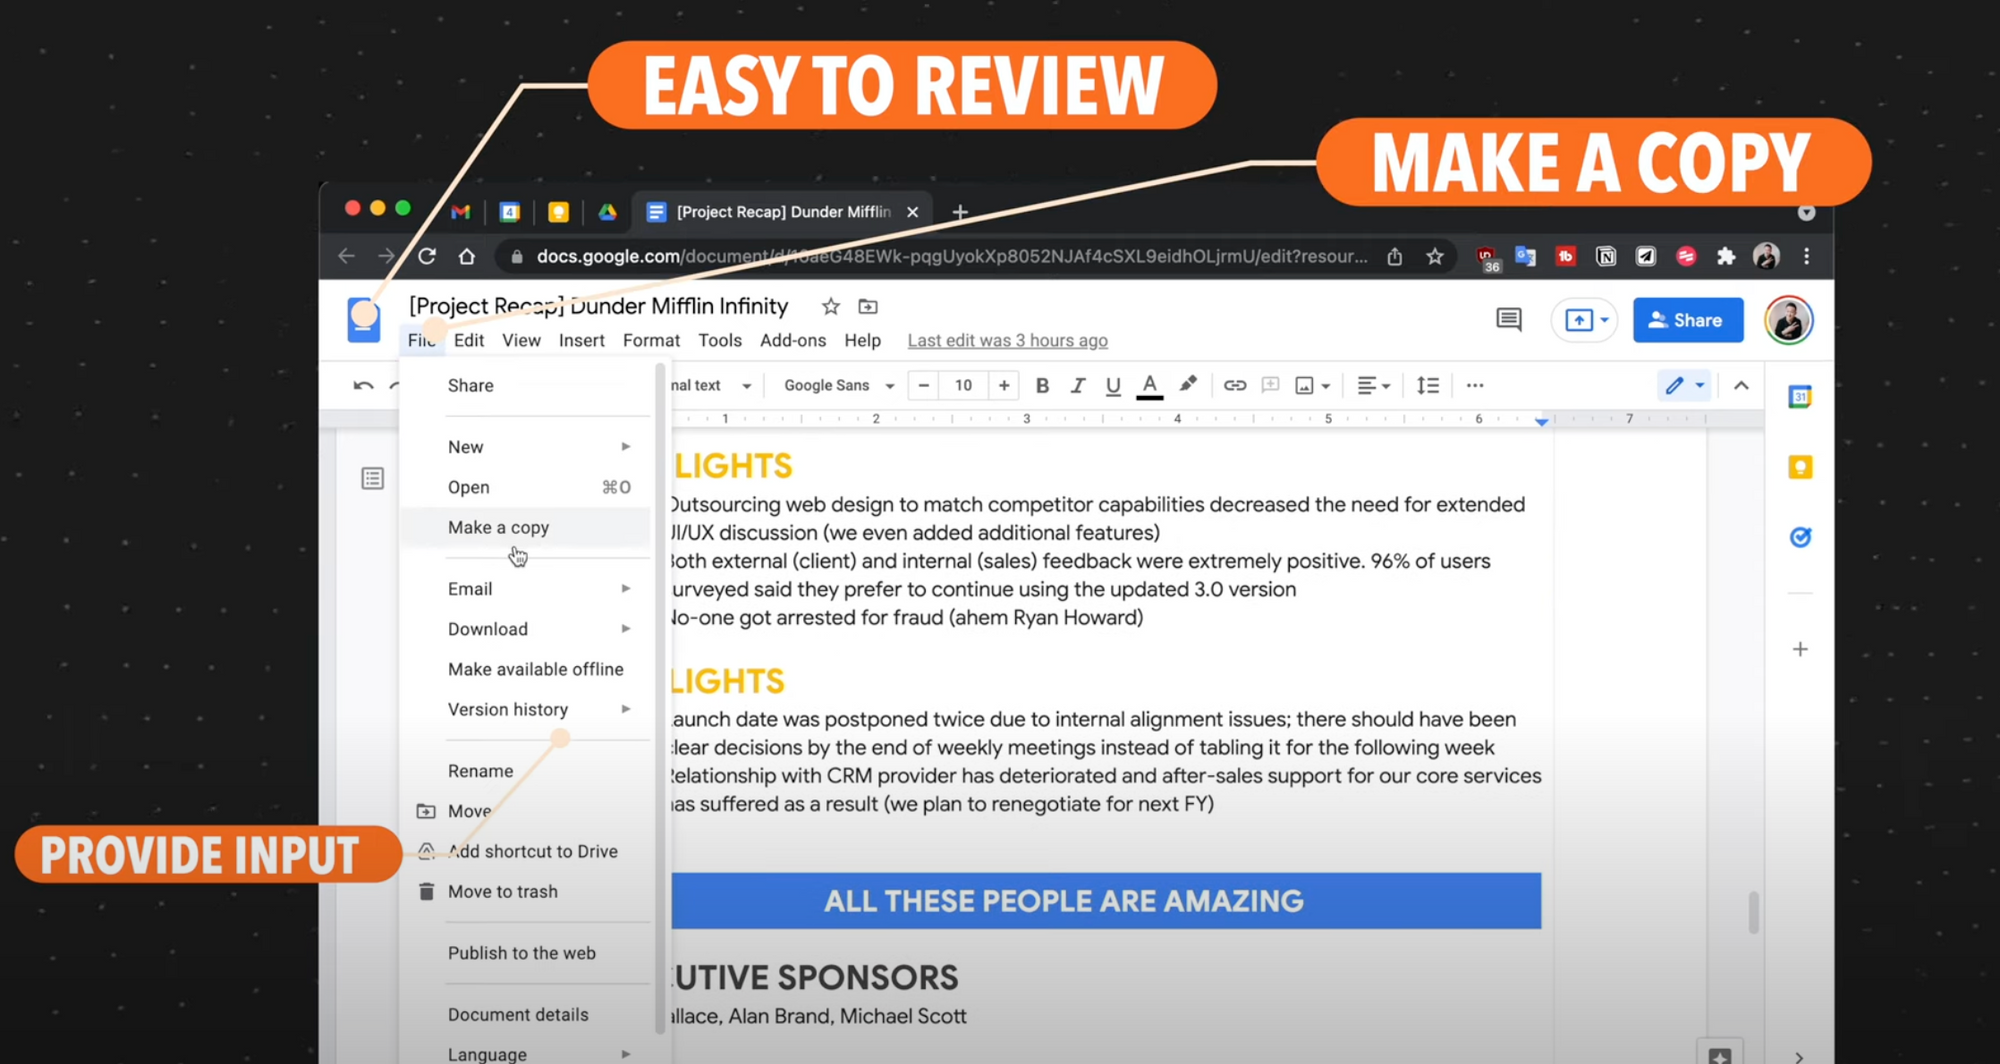
Begin the document with the necessary details, such as the email's title, recipients, and carbon copy (cc) or blind carbon copy (bcc) recipients.
I'll discuss the unspoken rules about who should be on each list shortly. Remember, those on the "to" and "cc" fields will receive enthusiastic reply-all emails, while those on the "bcc" field will be spared.

From the second page onward, start with the actual content. Here's a nifty formatting trick: highlight and copy the content you want to include in the email, and when you paste it into Gmail, it will retain the formatting, ensuring that it looks just as you intended.
When writing your project recap, it's essential to begin with 2-3 sentences that highlight quantifiable results.
This TL;DR (too long; didn't read) snippet serves one primary purpose: to help the reader decide whether they need to read the entire email or not.

Colleagues seeking inspiration will be intrigued by the numbers, wanting to learn how you achieved such impact. On the other hand, senior leaders or cross-functional teams can glance at this section to quickly grasp the outcome without delving into the details.
The "Context" section should explain why the project was necessary in the first place. Mention the initial pain point or challenge you aimed to address. Throughout the recap, bold certain phrases or sentences to emphasize key points.
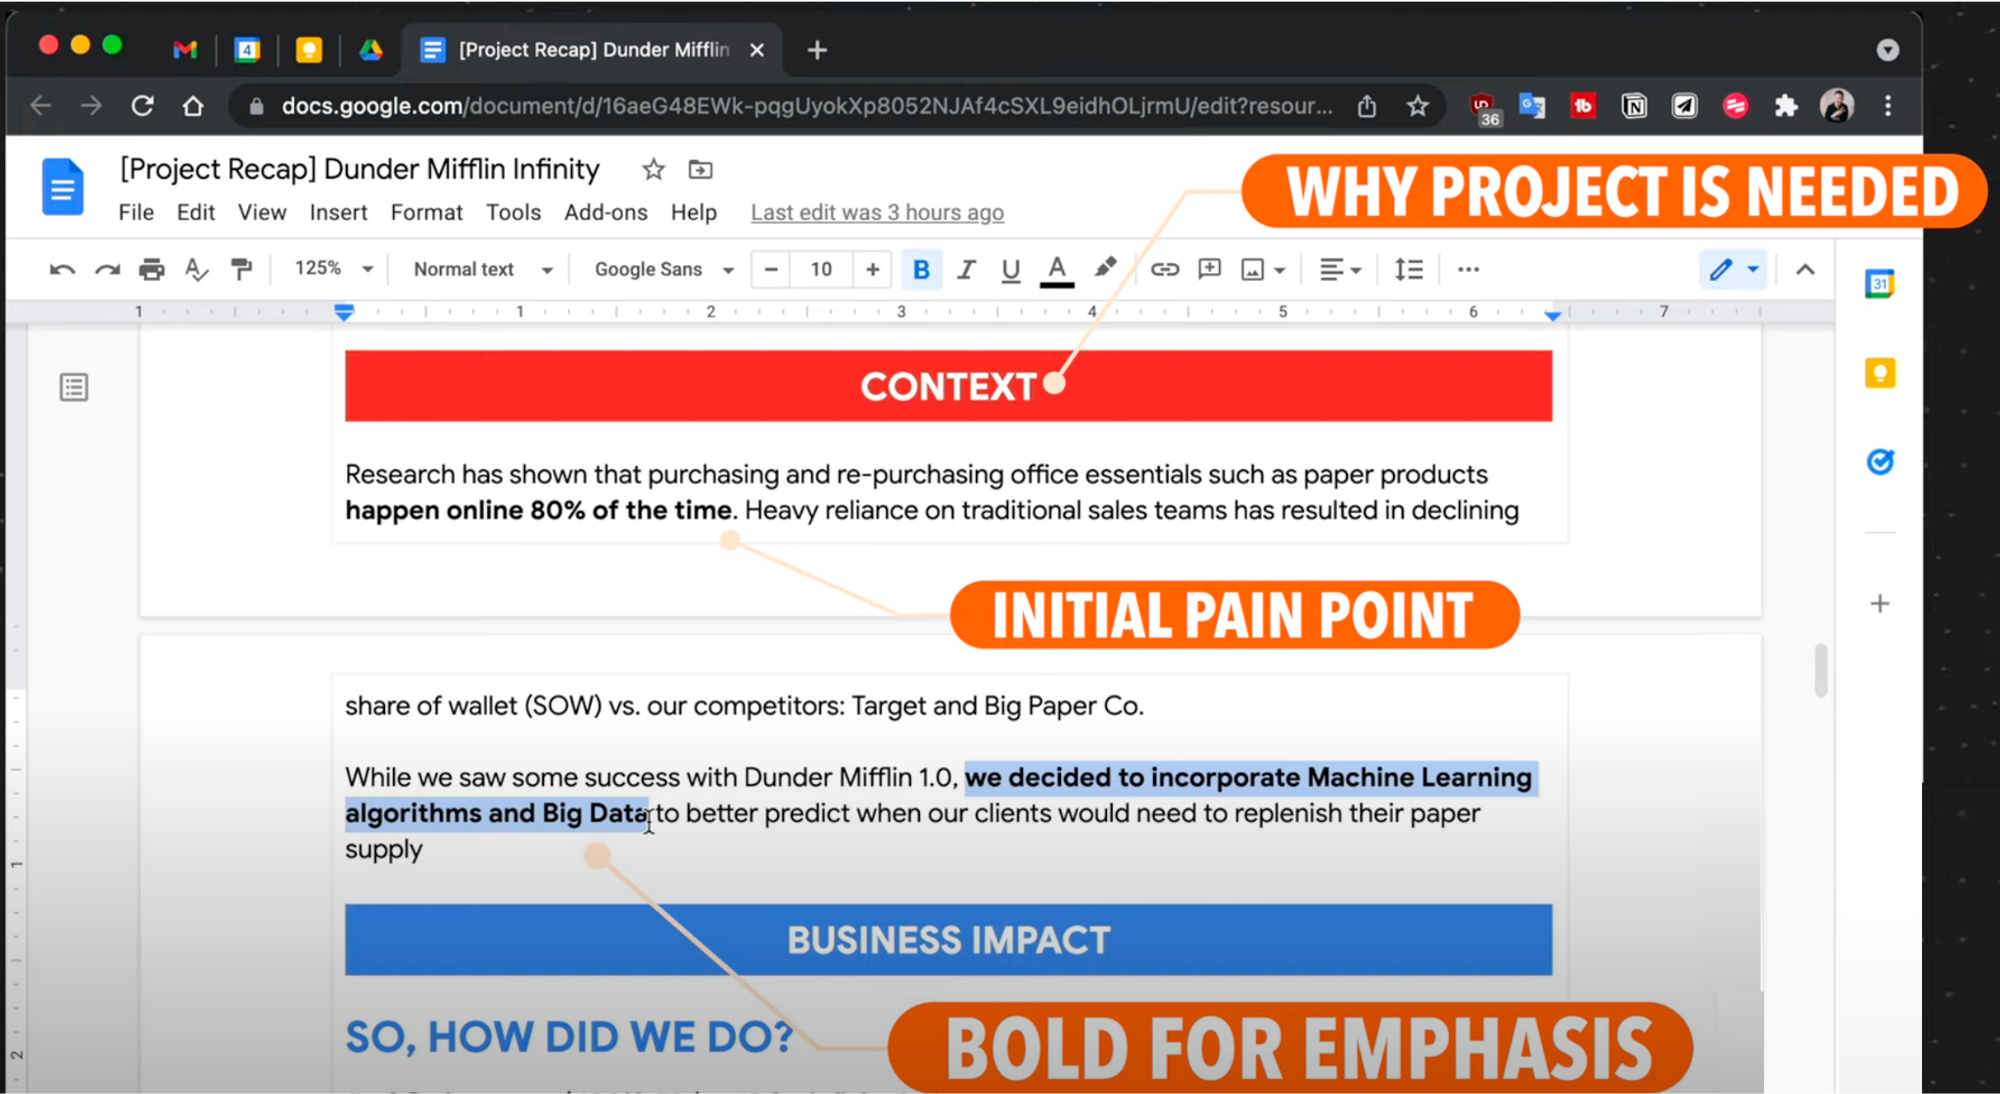
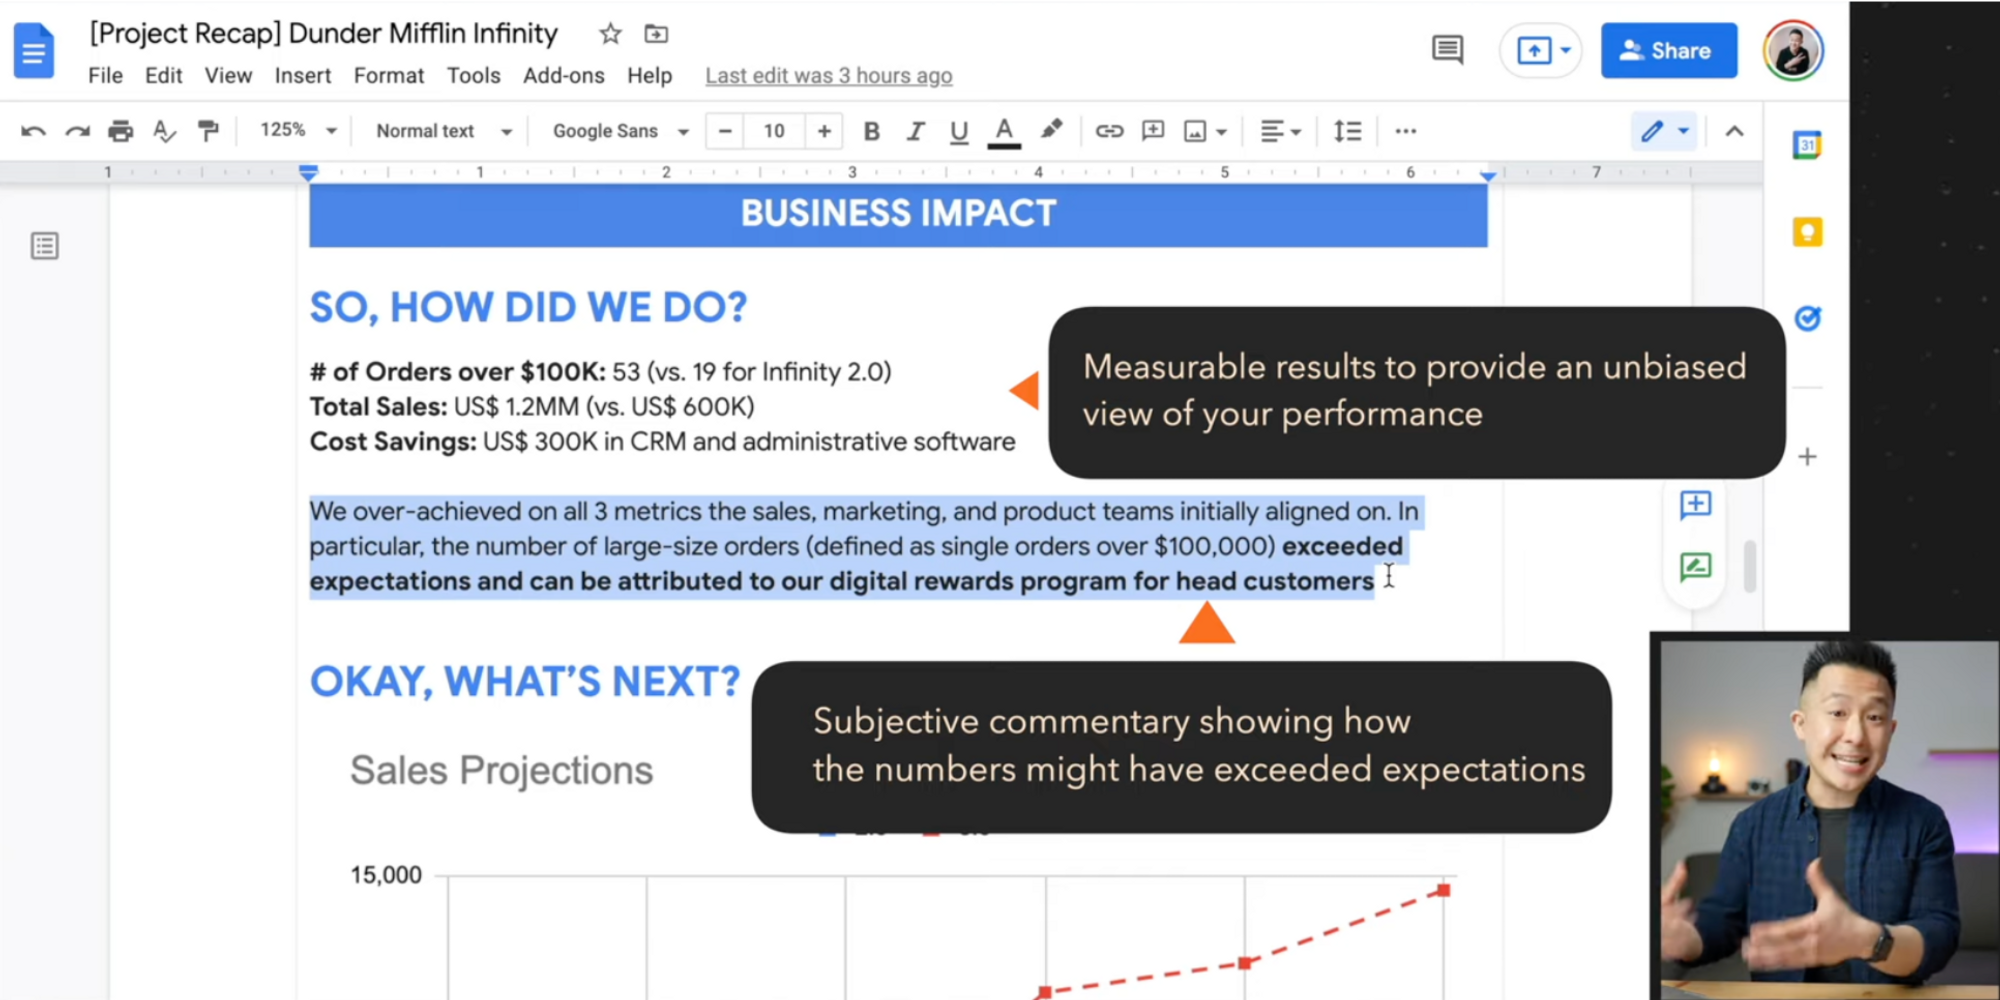
In the "Business Impact" section, include the objectives set for the project. For example, if three months ago the working group decided that Project Infinity 3.0 should increase the number of large orders, boost total sales, and decrease costs, share the measurable results that provide an unbiased view of your performance.
Additionally, add subjective commentary to highlight any instances where the numbers exceeded expectations.
In a sub-section dedicated to the next steps, briefly outline your plans based on the results you've observed:

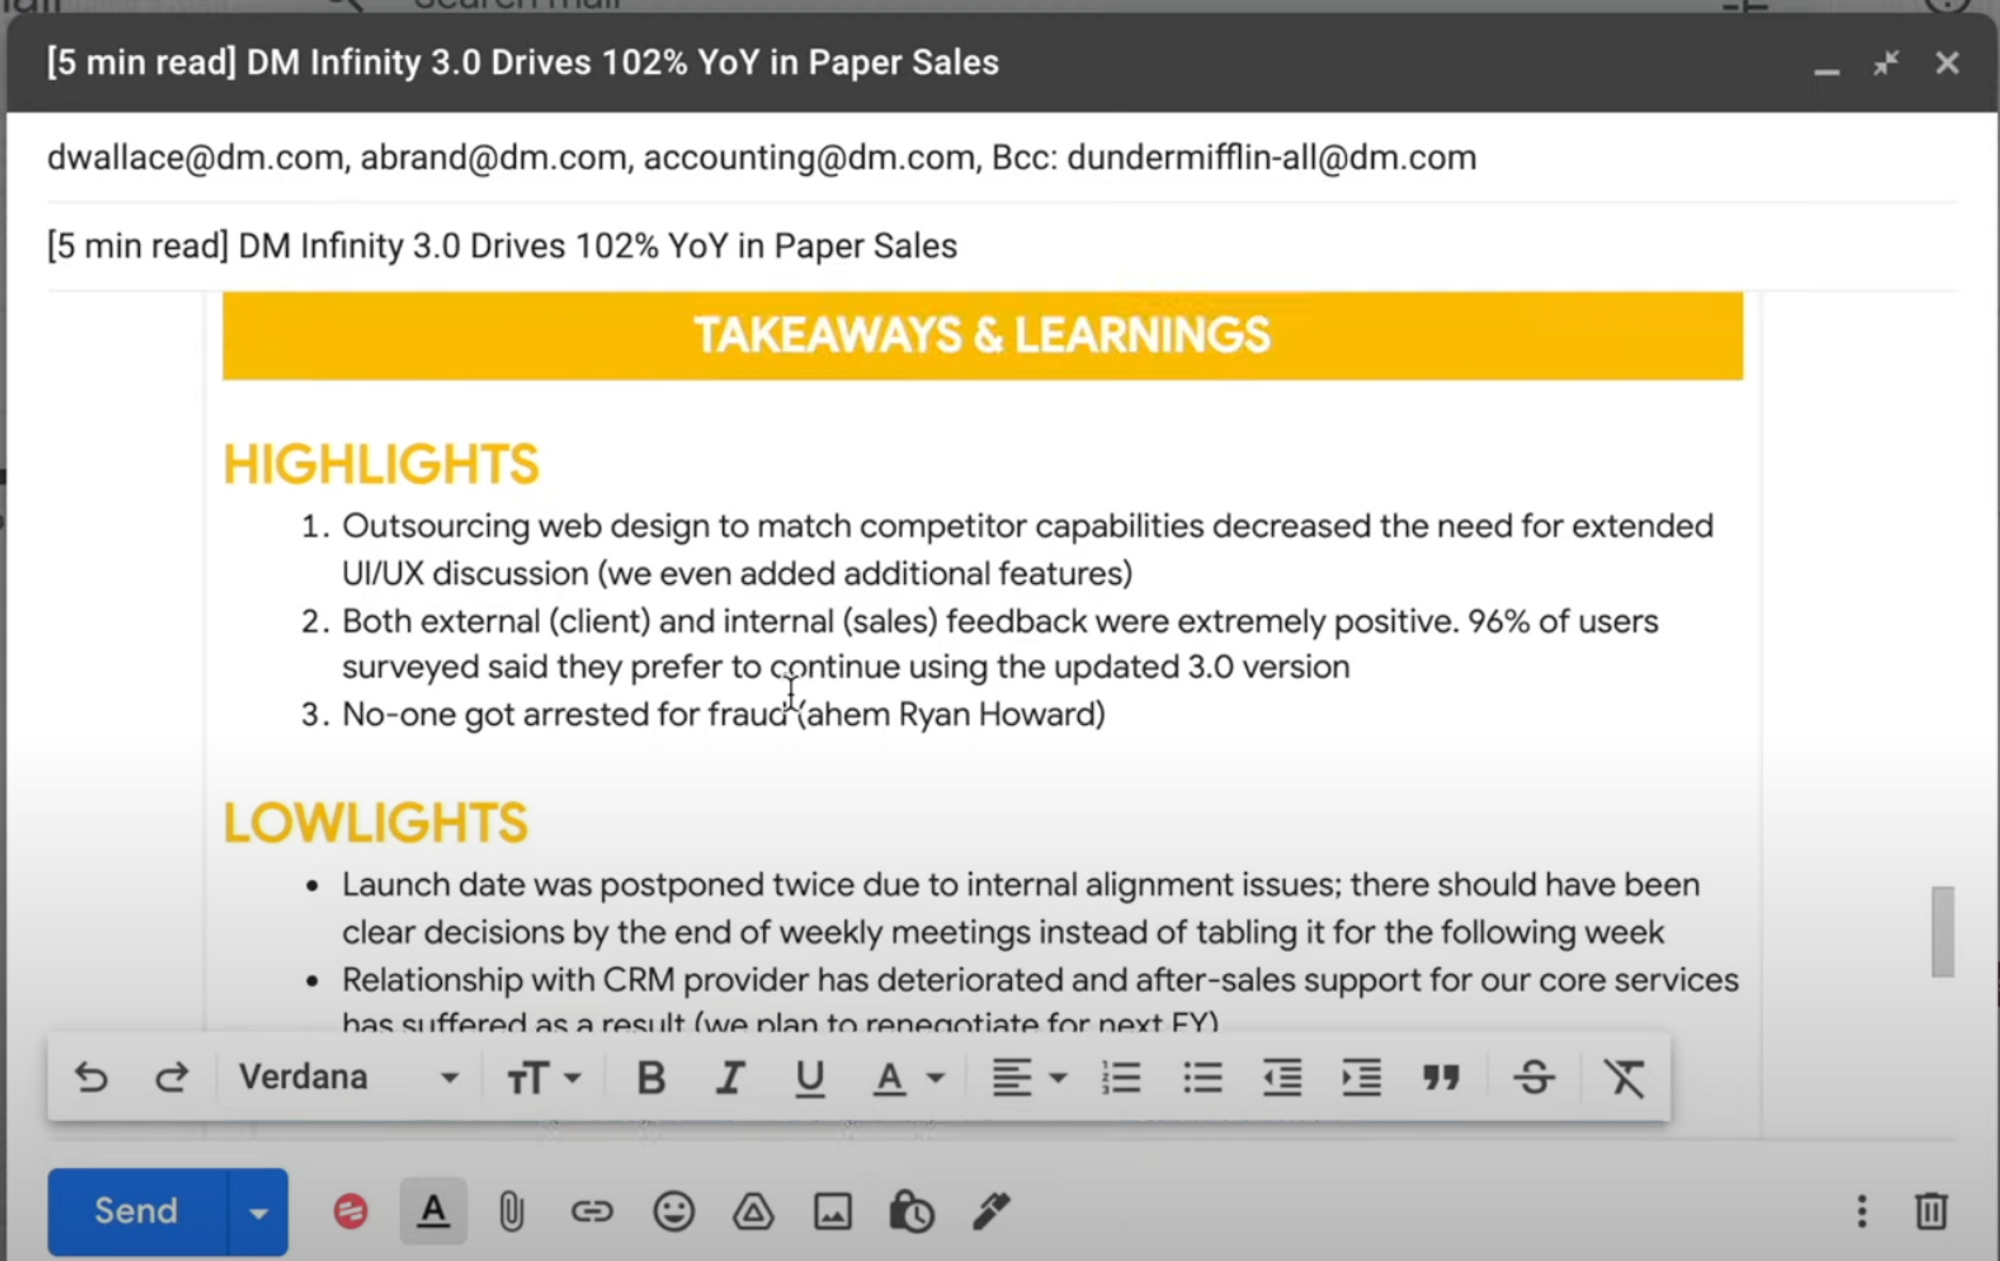
This section is arguably the most crucial but also the most challenging to get right. As project owners, we tend to believe that every detail is essential and relevant. However, it's crucial to distill the key takeaways into concise highlights and lowlights.
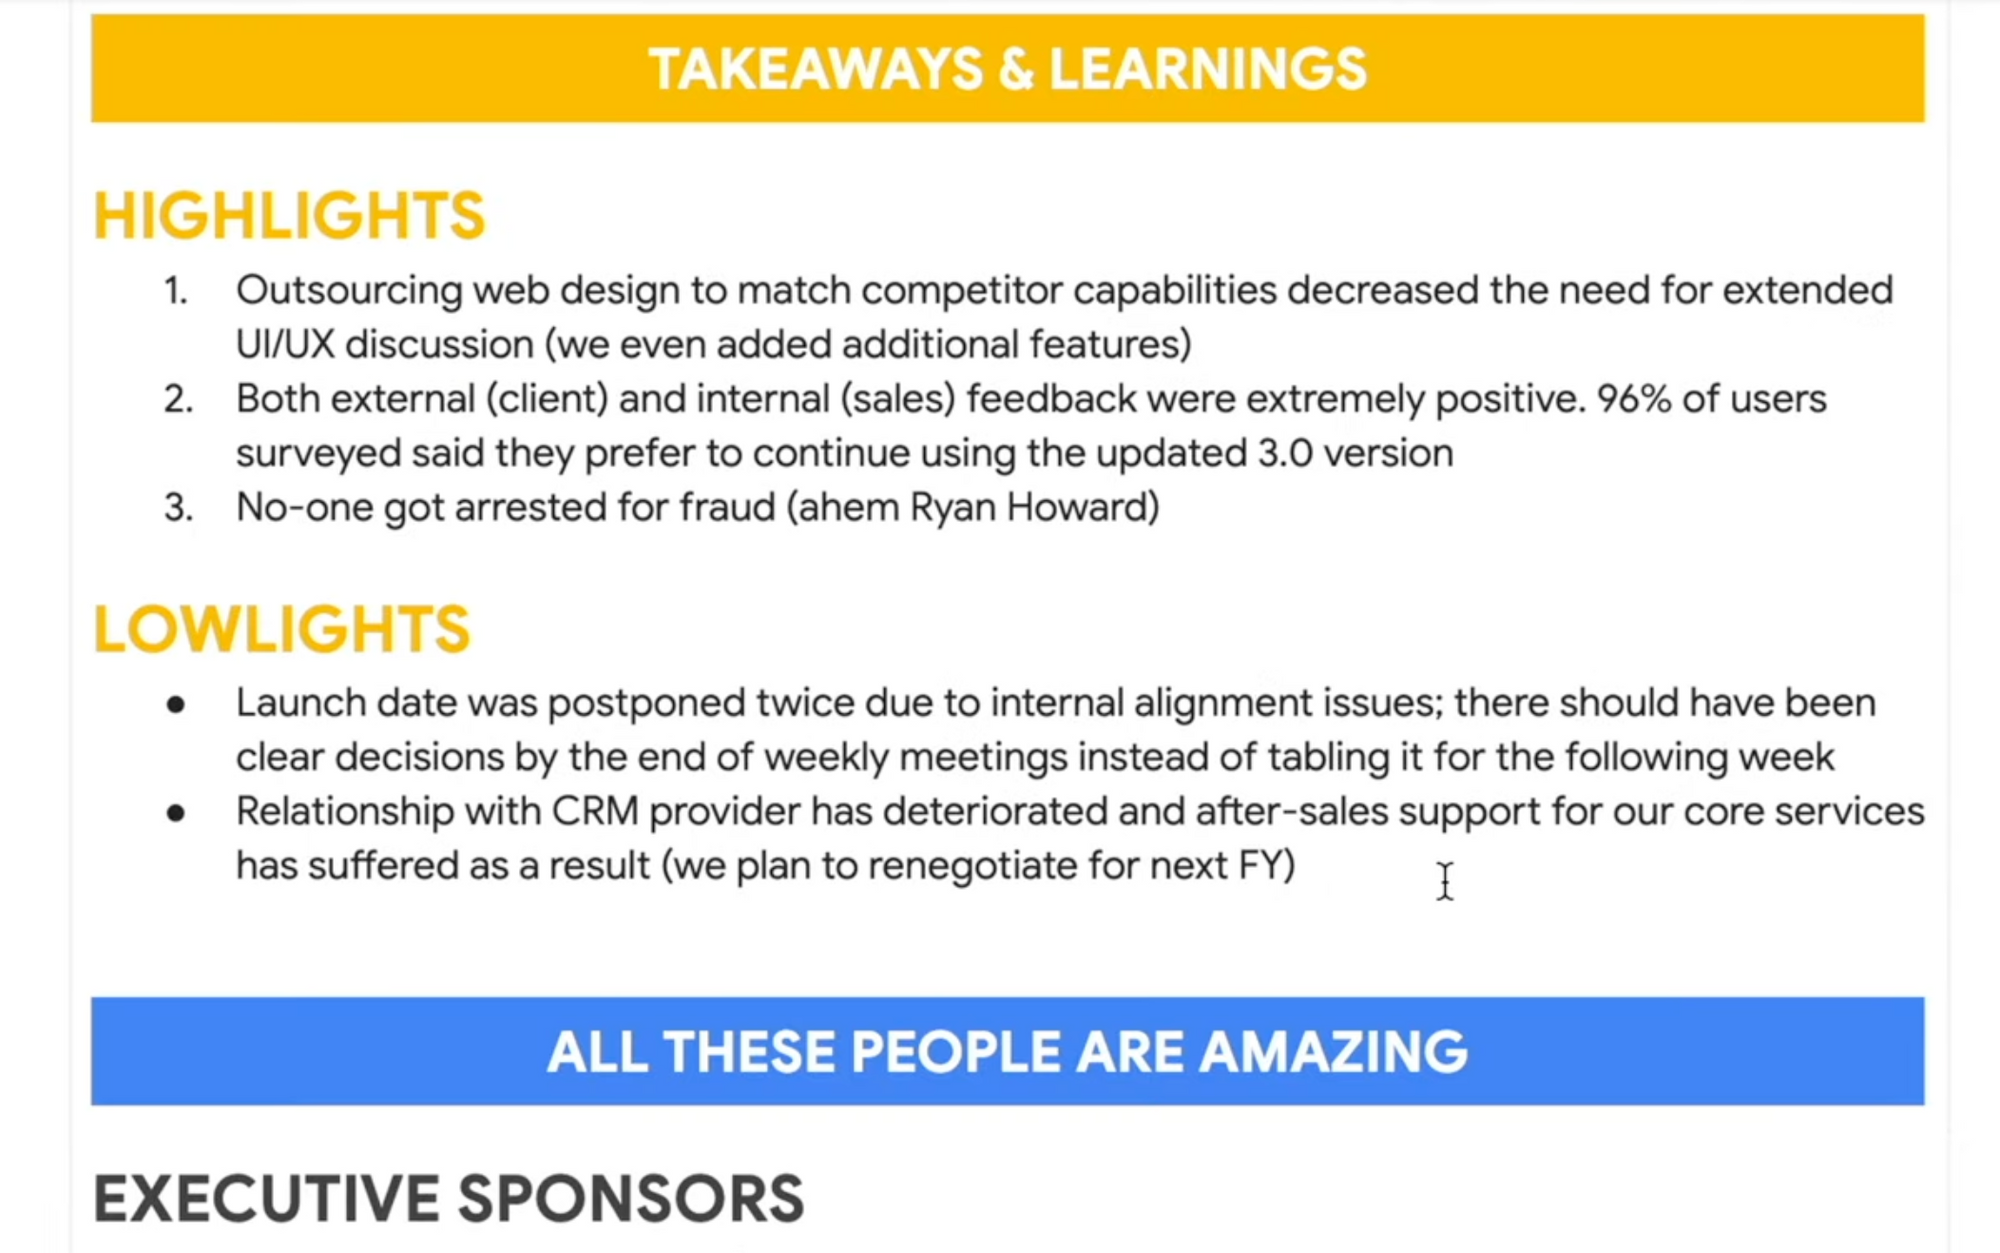
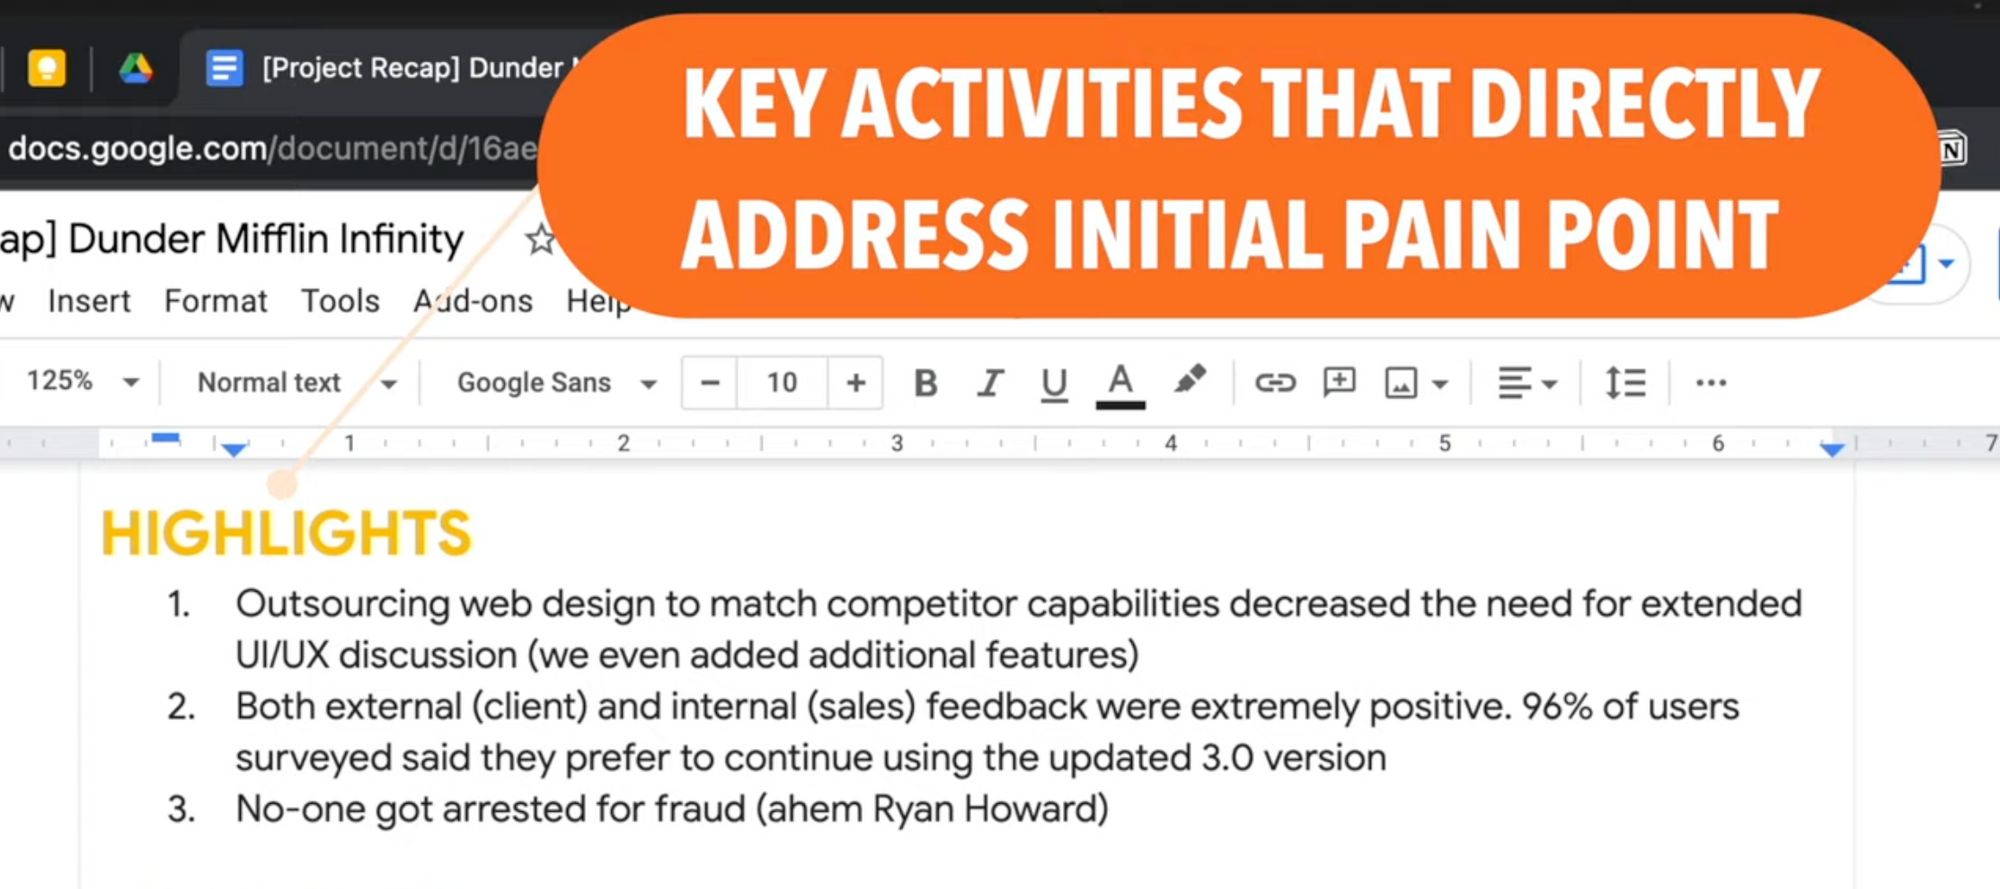
For the "Highlights" sub-section, focus on key activities that contributed to addressing the initial pain points.
Addressing the "Lowlights" can be tricky since it requires admitting mistakes. However, we all know that no project is flawless, except perhaps my YouTube channel.
To overcome this challenge, ask colleagues and cross-functional team members involved in the project what they wish you had done differently.
This approach elicits honest feedback, and often, their responses will include potential solutions to the identified issues. When discussing lowlights, aim for a maximum of three to keep your recap concise and focused.

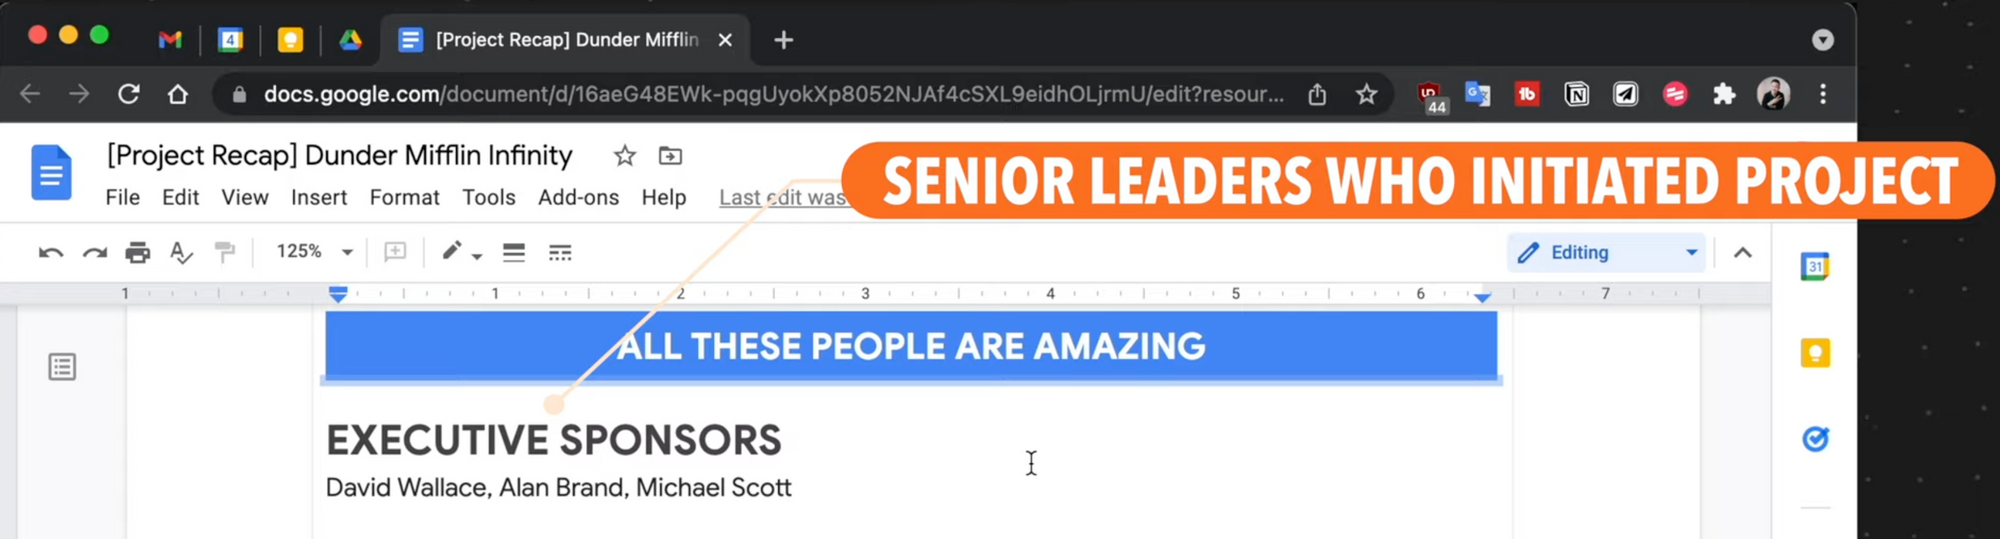
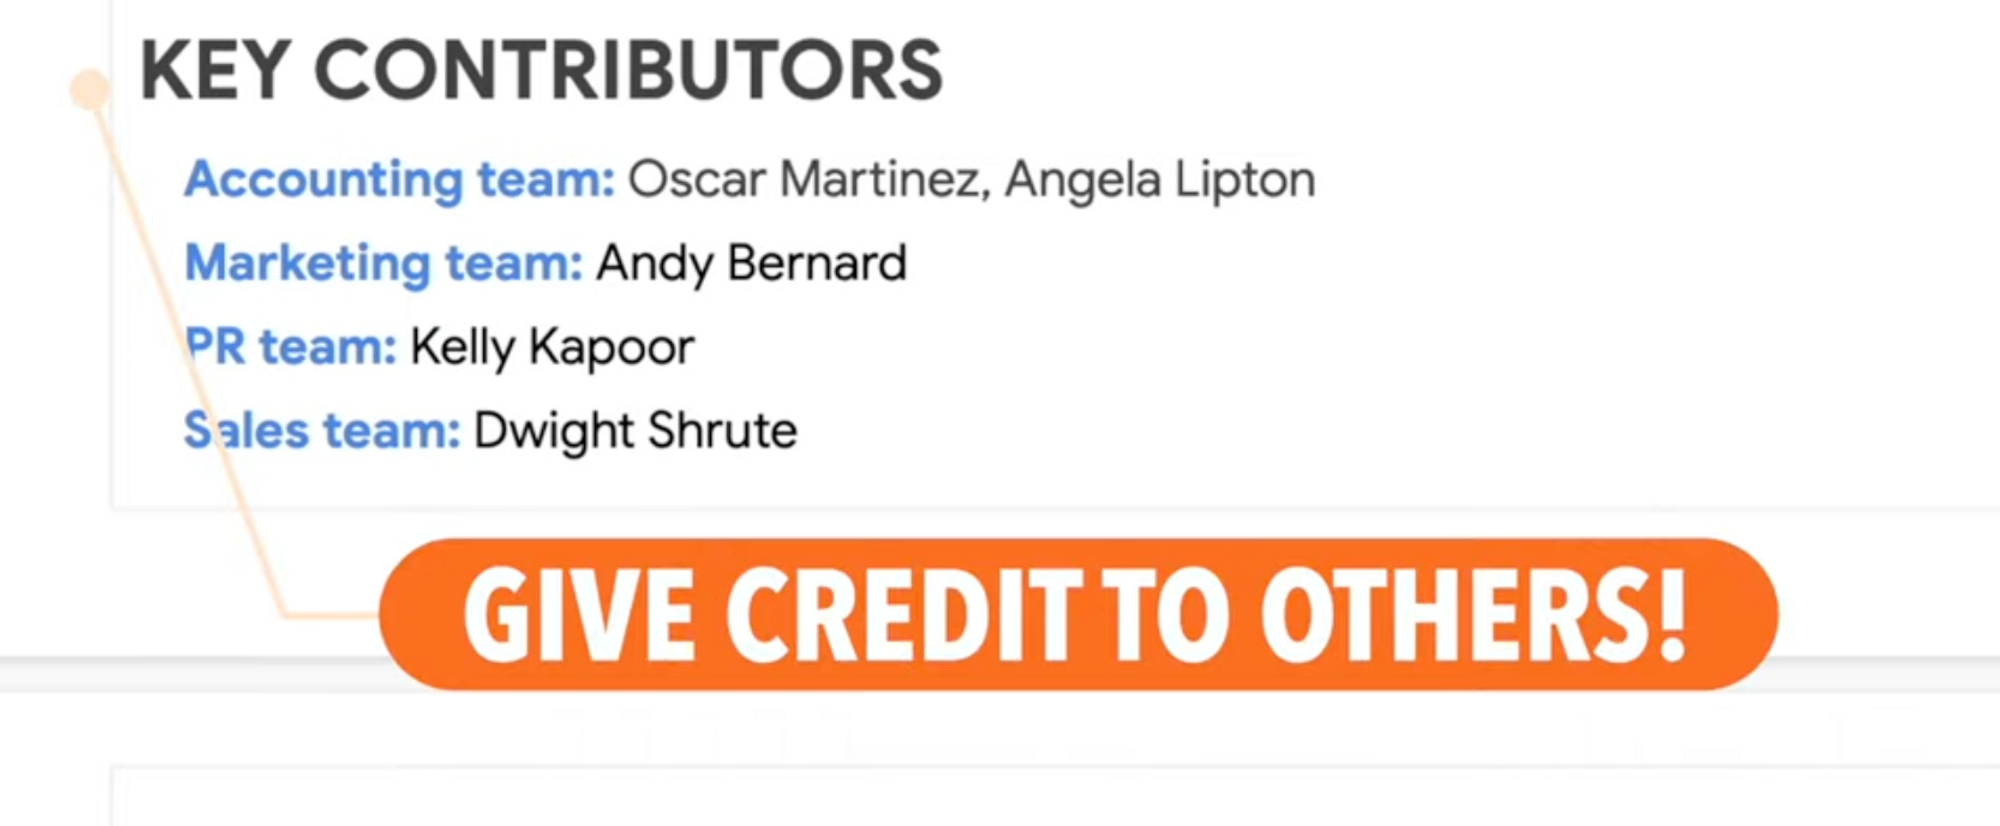
Expressing gratitude is essential in any project recap. Show appreciation to the executive sponsors, who are the senior leaders that initiated the project and provided guidance and mentorship throughout. Give a shout-out to the key contributors who assisted with the project.
Finally, acknowledge the core team members and provide links to any relevant documents at the end.

Check out my Succeed in the Workplace playlist!